Attention: When done correctly, liquid metal usage can provide up to 10-20% temperature improvement on your GPU. However, a wrong step can irreversibly damage your entire card. This is a high-risk operation, consider accordingly. Responsibility lies with you.
Using Liquid Metal for GPU Cooling and What to Consider#
Liquid metal usage for GPU cooling has become quite popular. However, incorrect application can cause serious problems, especially on aluminum surfaces. In this guide, I'll explain step by step how you can safely and effectively work with liquid metal on GPU cooling blocks.
Dangerous Interaction Between Aluminum and Liquid Metal#
If liquid metal contacts aluminum (for example, in a GPU cooling block), the gallium element within it causes the aluminum surface to quickly form sediment, break apart and turn to powder. This gallium-aluminum reaction can cause serious damage!
- 🔗 Reaction and Breakdown Video
Therefore, when applying liquid metal, make sure the surface is not aluminum.
Correct Surface Selection: Nickel and Copper#
- Liquid metal can be used safely on Nickel and Copper surfaces.
- Many GPUs have core blocks that are copper or nickel-plated.
How to Identify Surface Material?#
-
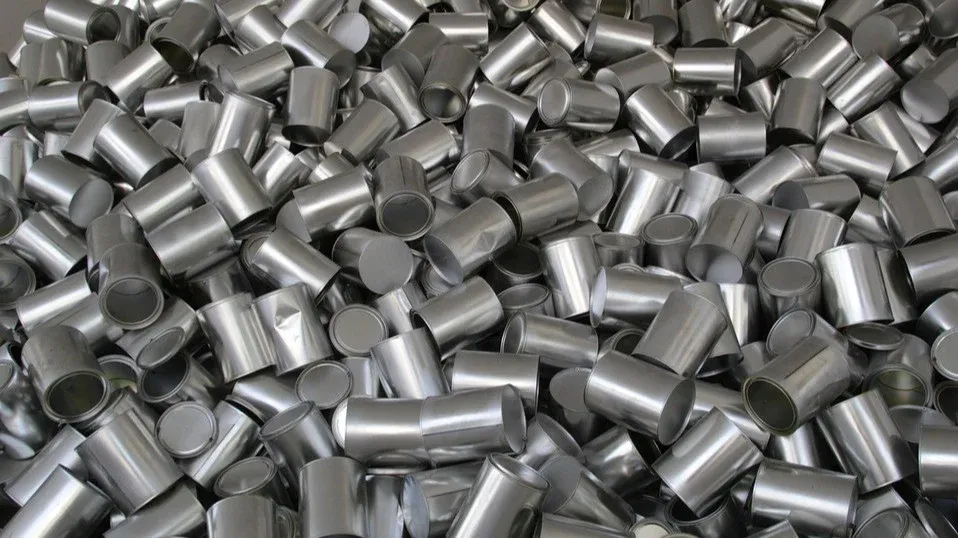
Aluminum image:
-
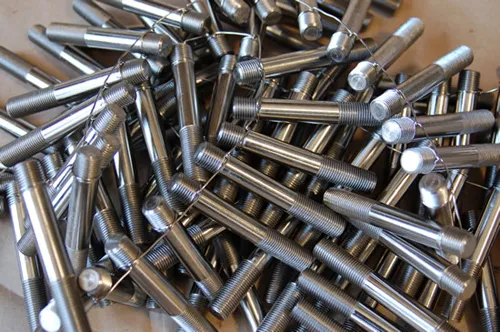
Nickel image:
Practical Method: Magnet Test#
- Magnet attracts nickel.
- Aluminum and copper are not attracted by magnets.
With this simple test, you can understand what material you're working with.
Materials to Use and Their Properties#
| Product | Thermal Conductivity (W/m-K) | Density (g/cm³) | Max Thermal Resistance (°C) | Viscosity |
|---|---|---|---|---|
| Thermal Grizzly Hydronaut | 11.8 | 2.6 | 350°C | 1900 poise |
| Thermal Grizzly Conductonaut | 73 | 6.24 | 140°C | 0.021 poise |
🔗 Hydronaut (26gr - xxx TL): Product Link 🔗 Conductonaut (1gr - xxx TL): Product Link
Thermal Conductivity Values#
- Copper: 413 W/m-K
- Zinc: 116 W/m-K
- Brass (Copper + Zinc mixture): Between these values.
ℹ️ Heat conduction is expressed in W/m-K unit. Viscosity is the resistance against fluidity.
Additional Required Materials#
-
1.5 MM Thick Washers:
-
Material: Copper alloy yellow (brass)
- Approximately 51 pieces in 100 grams → 180 TL
-
0.5 MM Uncoated Copper Wire (20 Meters):
Total Material Cost (Prices and Stock May Vary Over Time)#
| Product | Price |
|---|---|
| 26gr Hydronaut Paste | 1200 TL |
| 1gr Conductonaut Liquid Metal | 439 TL |
| 51 Washers | 180 TL |
| 20 Meter Copper Wire | 125 TL |
Total: 1,944 TL
Step-by-Step Guide to Applying Liquid Metal to GPU#
In this section we number the operations one by one:
1. GPU Block Disassembly#
- Remove the GPU block on the PC.
- Remove fan pins, ARGB pins if any.
- Carefully clean the PCB, VRAM pads and old thermal paste on the chip.
- Disassemble the cooling block and clean with a toothbrush.
- Clean plastic covers of fans with air.
2. Edge Taping#
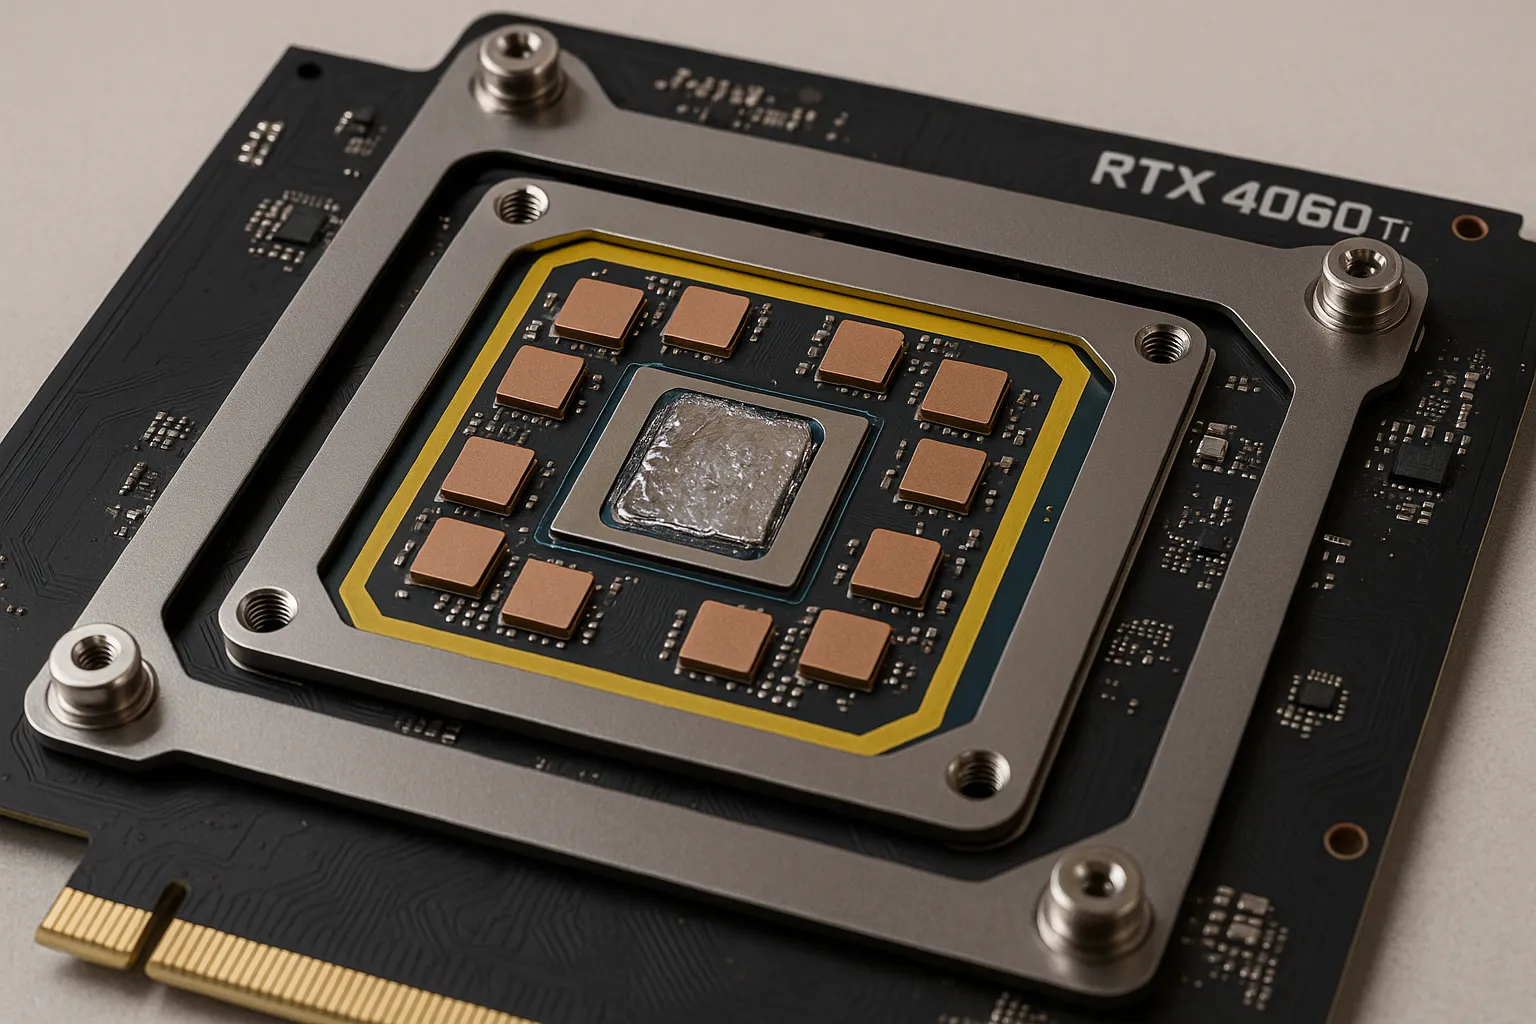
- Apply transparent yellow tape to GPU chip edge and outside all VRAM chips.
- Purpose: To prevent short circuits in case of liquid metal overflow or spill.
3. Liquid Metal and Thermal Paste Application#
- Drip a small amount of liquid metal on the chip and squeeze Hydronaut paste on top.
- Create a thin layer by mixing with a spatula on the chip.
4. Washer Installation on VRAM#
- Apply small amount of liquid metal + Hydronaut mixture on VRAMs.
- Place 1.5 MM thick washers on each VRAM.
- Apply the same liquid metal and Hydronaut mixture on top of the washers.
5. Extra Support for VRM and Other Areas#
- Apply Hydronaut to factory VRM, mosfet, capacitor areas, etc.
- Place pad of appropriate size on top. Never use liquid metal!
6. Reassembly#
- Mount fans to plastic mold.
- Screw cooling block to plastic cover.
- Carefully place GPU block on PCB and connect fan and ARGB pins.
- Tighten the block with screws in a cross pattern.
- Visually check that the cooling block fully contacts the core and VRAMs.
 #
Result#
When done correctly, liquid metal usage can provide up to 10-20% temperature improvement on your GPU. However, a wrong step can irreversibly damage your entire card.
If you follow this guide step by step, you can achieve maximum performance safely. Remember: Don't use liquid metal on aluminum surfaces!
Comments