How to Set Up Raspberry Pi? 🛠️#
Being a powerful, cheap and flexible mini computer, Raspberry Pi can be used in many areas from hobby projects to professional applications. So, how do you set up this device when you first get it? 🤔
In this guide, Raspberry Pi setup is explained step by step. You will find everything you need from preparing the microSD card to remote connection via SSH.
📦 Required Hardware#
You will need the following hardware to set up Raspberry Pi:
- Raspberry Pi (Pi 3 Model B was used in this guide)
- microSD card (at least 8GB, preferably Class 10)
- microSD card reader (adapter may be needed if not on your computer)
- Computer (to prepare microSD card)
- HDMI cable, monitor, keyboard
- Ethernet cable (or Wi-Fi)
- microUSB power cable (standard Android charger)
If all this hardware is ready, let's start. 👇
💾 Preparing the microSD Card#
Great, now I'm continuing with Step 1: Flash Your microSD Card section:
Step 1: Flash Your microSD Card#
- Insert your microSD card into your computer.
- Download and install the Etcher application.
- Download the Raspbian Stretch Lite version and extract the zip file. This version is a very lightweight Raspbian version that runs only with the command line and has no desktop interface. The file size is approximately 351MB (November 2018 version), so it will download quickly.
- Open Etcher, select the
.imgfile of the Raspbian operating system you extracted, and show your microSD card as the target. Then click the Flash button and wait for the process to complete. If you are using Windows, some Explorer windows may open during the process, you can ignore them. - After the process is complete, eject your microSD card and disconnect it from your computer.
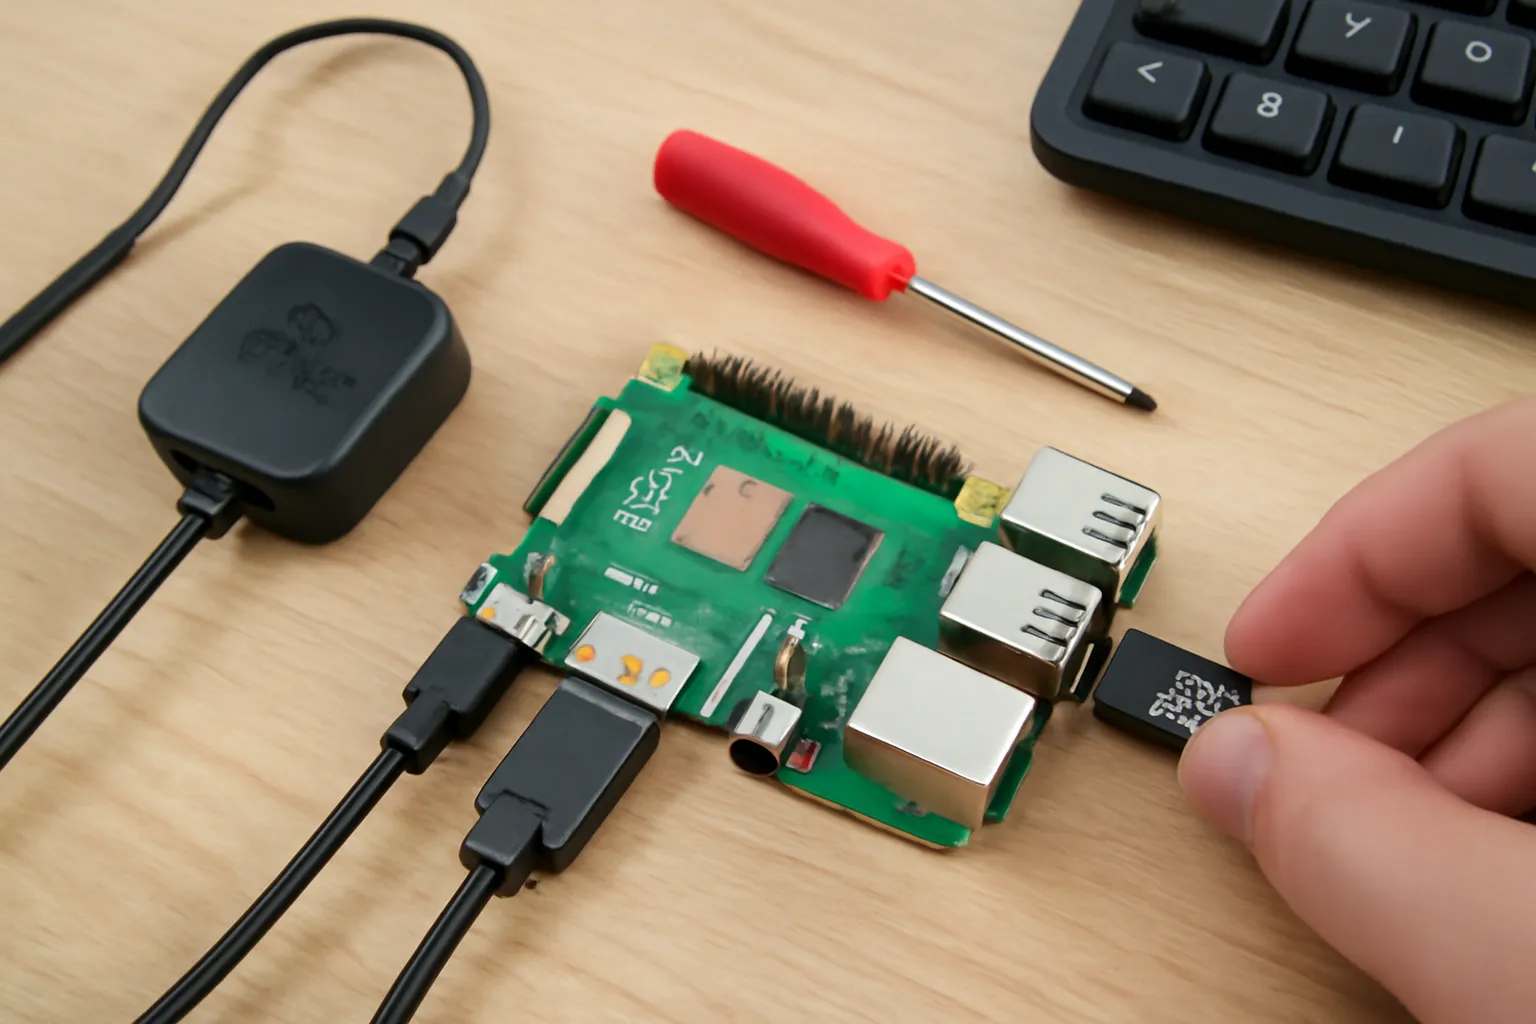
- Make sure your Raspberry Pi is off. Insert the flashed microSD card into your Pi.
- Connect your keyboard, monitor (via HDMI port) and Ethernet cable to your Raspberry Pi. Finally, plug in the power cable. Raspberry Pi will automatically turn on.
Step 2: Configuring Raspberry Pi#
- When you see the
raspberrypi login:message and a blinking cursor at the bottom of the screen, type the following as your username:
pi
Press Enter. Then enter the default password:
raspberry
We will change this password shortly.
- Now type the following command for system updates:
sudo apt update
This command renews where Raspbian gets its updates from. apt is a package manager. sudo means "super-user do"; that is, you are running this command with administrator privileges.
You may have seen apt-get before, but apt is a newer and more user-friendly version. Wait for the command to complete.
- When you see the
pi@raspberrypi:~ $output on the screen again, the update process is complete. Now enter the following command:
sudo apt full-upgrade
When asked
y
type and press Enter. This process may take a while, but you can watch the progress bar at the bottom of the screen.
- After the updates are complete, run the following cleanup commands:
sudo apt autoremove && sudo apt clean
These commands remove unnecessary packages and free up memory. The && sign allows you to combine multiple commands in a single line.
- Now type the following command to open the configuration screen:
sudo raspi-config
A blue graphical screen will open. You can navigate the menu with the arrow keys and make selections with the Enter key. Select the 8 Update option and press Enter to update the configuration tool.
-
After waiting a few seconds, scroll down to the
4. Localisation Optionsoption and press Enter. Then press Enter again to change the locale settings.
Scroll down to find theen_GB.UTF-8 UTF-8option, if it is selected, deselect it with the spacebar.
Continue and find theen_US.UTF-8 UTF-8option and mark it with the spacebar. Then press Enter to complete the process. Press Enter again to make theen_US.UTF-8option the default. Then you will be returned to theraspi-configscreen. -
Enter the
4. Localisation Optionsmenu again. This time select theI2 Change Timezoneoption.
First select your continent, then your city. For example, I chooseAmerica/Toronto. If you are in the USA, you can select your region from underUS. -
Enter the
Localisation Optionsmenu again and this time select theI3 Change Keyboard Layoutoption to set the keyboard layout.
I am using aDell USB Multimedia Keyboard. Select your own keyboard. If you are in England, you can select the default layout. If not, go toOtherand select your keyboard language.
Then select the version of the keyboard layout. If you are not sure, prefer the first option. Also skip the Alt-Gr key and Compose Key options with Enter - you won't need them right now. -
Finally, enter the
Localisation Optionsmenu again and select theI4 Change Wi-fi Countryoption.
This is very important, because using wireless settings that are not appropriate for the country you are in can cause legal problems. Select your country and press Enter. Press Enter again when the<Ok>message appears. -
Now scroll down to the
7. Advanced Optionsmenu and select theA1 Expand Filesystemoption.
This process allows Raspberry Pi to use the entire SD card. -
To change the user password, enter the
1 Change User Passwordoption. Follow the instructions on the screen to set your new password.
Finally, press the right arrow key twice to go to the<Finish>option and press Enter. -
Now go to the
2 Network Optionsmenu and select theN1 Hostnameoption. Give your Raspberry Pi a name. After making the settings, the system will restart. Wait for the restart process to complete.
Step 3: Customizing Raspberry Pi#
- When your Raspberry Pi restarts, log in again:
pi
Then type the password you just set and press Enter.
- To remove the rainbow screen that appears at startup, enter the following command:
sudo nano /boot/config.txt
Nano is an easy-to-use text editor in Linux. Scroll to the bottom with the arrow keys and add the following line:
disable_splash=1
Press Ctrl+X to exit, then press y to save the changes.
-
Restart your Raspberry Pi. Now the rainbow effect will not appear on the startup screen.
If you want to see it again in the future, you can go back to the/boot/config.txtfile and delete this line. -
You just edited a file with
nano. Now we will edit the/etc/motdfile. This file determines the "message of the day" that appears on the screen when you log in:
sudo nano /etc/motd
If you just type nano, you cannot edit the file, sudo is required.
When the cursor is at the beginning of the file, press Ctrl+^, scroll to the bottom with the arrow keys. This selects all the text. Then delete the selection with Ctrl+K.
When the file is empty, write the message you want to see at login. To save and exit, press Ctrl+X then y.
-
Now press
Ctrl+Dto log out of the session.
When you log in again, you will see the message you just wrote. -
Finally, set a password for the root user:
sudo passwd
Step 4: SSH Installation#
SSH allows you to connect to Raspberry Pi remotely via terminal (command line) from another device. First, you need to assign a static IP address to Pi.
- Learn Raspberry Pi's local IP address:
ip -4 a | grep global
You may get an output like this:
inet 192.168.2.10/24 brd 10.1.1.255 scope global eth0
Here 192.168.2.10 is Pi's local IP address. /24 shows the size of the network, it is 24 for most home networks. Note down the IP address.
- Learn the modem's (router) local IP address:
ip route | grep default
You will see something like this:
default via 192.168.2.1 dev eth0 src 192.168.2.10 metric 202
In my example 192.168.2.1 is the modem IP. Yours may be different, note it down too.
- Find the DNS server address:
cat /etc/resolv.conf
Sample output:
# Generated by resolvconf
domain home
nameserver 192.168.2.1
nameserver XXX.XXX.XXX.XXX
The address on the first nameserver line is usually the same as the router IP. If it is different, note it down too.
- Edit the
dhcpcd.conffile to fix the IP address:
sudo nano /etc/dhcpcd.conf
In the opened file, go to the # Example static IP configuration line and edit as follows:
interface eth0
static ip_address=192.168.2.10/24
static routers=192.168.2.1
static domain_name_servers=192.168.2.1
Update these addresses according to your network information.
Ctrl+X → y → Enter to save and exit, then restart Raspberry Pi.
- Enable the SSH service:
sudo systemctl enable ssh
sudo systemctl start ssh
Now restart again:
sudo reboot
-
To connect to Raspberry Pi from another computer, open terminal on that computer:
(Terminal on Linux/Mac,cmdon Windows) -
Establish SSH connection with the following command:
ssh pi@192.168.2.10
Here 192.168.2.10 is your Pi's IP address. At the first connection, type yes to continue.
- Write Pi's password and press Enter.
If successful, the login message (MOTD) will appear and now you can control Raspberry Pi from your own computer via command line.
From now on, you can remove the screen and keyboard from Raspberry Pi and manage it remotely!
📌 Conclusion and Summary#
- microSD card preparation
- Raspberry Pi initial configuration
- Localization and user settings
- Establishing remote connection via SSH
In this article, we covered all the steps you need for Raspberry Pi setup in detail: 💡
Comments