Series: Linux-disk
Part 3/3💣 Disk reset in Linux is sometimes inevitable for system administrators and technical users. Whether it's before a new installation, while deleting old data, or cleaning disks in a way that can't be reversed, it's very important to proceed with the correct methods.
In this guide, I'll explain in detail how you can safely and effectively reset any disk in the format /dev/sdX. I'll also explain with examples when each method is appropriate.
🧠 Why Do You Need Disk Reset?#
Disk reset need may arise in the following situations:
- Clean start before new OS installation
- Deleting data in a way that can't be recovered
- Getting rid of faulty partition structures on disk
- Preparation for disk format change or zero-based partitioning
⚠️ WARNING: Resetting the wrong disk may cause the system to become completely unusable. Check disk names carefully.
🛠️ List and Check Disks#
To see your disks and connected partitions:
sudo fdisk -l
Alternatively:
lsblk
In the output, you'll see disk names like /dev/sda, /dev/sdb, /dev/sdc. After clearly identifying the disk you want to reset, proceed with the operation.
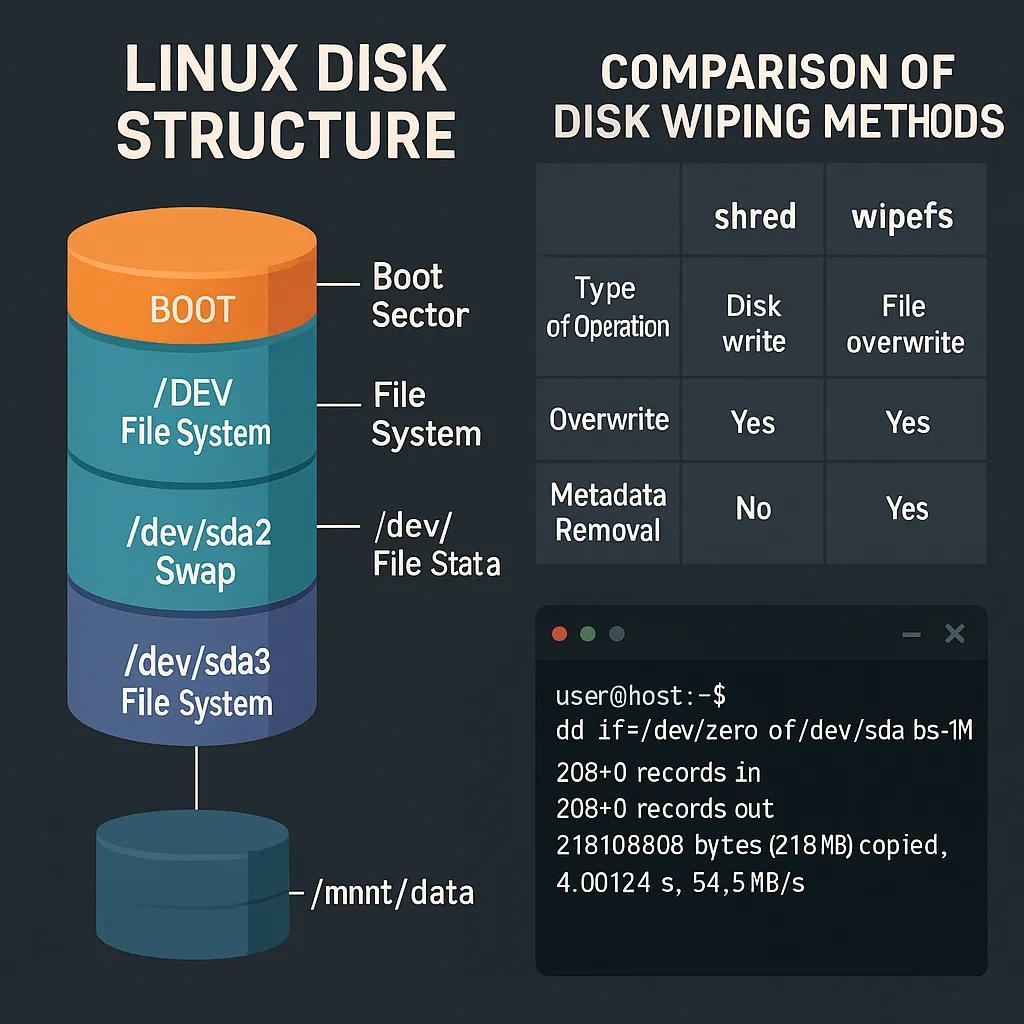
⚡ Method 1: Disk Reset with dd#
dd erases by filling the disk with zeros (0). It's a simple but powerful tool.
# Example: Resetting /dev/sdX disk
sudo dd if=/dev/zero of=/dev/sdX bs=1M status=progress
Explanations:
if=/dev/zero: Input source produces zero bytesof=/dev/sdX: Target diskbs=1M: 1 MB block size for faster operationstatus=progress: Real-time progress status
🕒 This operation may take a long time depending on disk size (e.g. 10-30 minutes for 500 GB).
🔐 Method 2: Secure Erasure with shred#
shred is used when data needs to be deleted in a way that can't be recovered.
sudo shred -v -n 3 /dev/sdX
Explanations:
-v: Verbose output-n 3: Write random data 3 times over-z: (optional) Write zeros in final pass
🔐 This method is especially suitable for personal data or sensitive files.
🧼 Method 3: Cleaning File System Traces with wipefs#
It's a fast method to only delete partition and file system signatures:
sudo wipefs -a /dev/sdX
-a: Cleans all file system signatures
⚡ Fast, but physical data may remain on disk.
🔍 Check Disk Status After Cleaning#
After the erasure operation is complete, you can check with the following commands:
lsblk
sudo fdisk -l
If partition is not visible, the disk has been successfully cleaned.
🧾 When Should You Use Which Method?#
| Method | Description | Speed | Security |
|---|---|---|---|
dd |
Fills disk with zeros | Medium | Medium |
shred |
Obliterates data with random data | Slow | High |
wipefs |
Erases partition tables and FS signatures | Very Fast | Low |
For critical data, shred is the best choice. If only pre-installation reset is needed, dd or wipefs is sufficient.
🚀 Bonus: Disk Partitioning and Formatting After Reset#
To create a new file system:
sudo parted /dev/sdX mklabel gpt
sudo parted /dev/sdX mkpart primary ext4 0% 100%
sudo mkfs.ext4 /dev/sdX1
Other file systems like
xfs,btrfscan also be used instead ofext4.
📣 Result: Safe and Conscious Disk Cleaning Is Essential#
Resetting disks in Linux is very important both for system security and stability. Do not perform any operation without being 100% sure of which disk you're deleting. Extra caution is necessary especially on servers or systems with multiple disks.
If this guide was helpful to you, you can share it, leave a comment below, or follow my blog. I'm here for more Linux tips and system administration guides! 🐧
If you have other methods you use, share them in the comments, let's grow together! 🙌
Comments