Series: ArchLinuxCPU
Part 1/1CPU Power Management and Performance Settings on Arch Linux#
If you're using Arch Linux and especially staying away from desktop environments like GNOME or KDE and preferring lightweight solutions like i3wm, system performance control is entirely in your hands! 💪
In this article, I'm sharing in detail how I configured CPU power management on a system using Intel i5-13400F processor, RTX 4060 Ti graphics card and i3wm. Our goals are: 👉 Maximum performance 👉 Low power consumption 👉 Real-time frequency monitoring 👉 Desktop environment independent full control
🔍 Why CPU Power Management Matters?#
Modern CPUs have extraordinary power, but using this power uncontrollably causes both heat increase and unnecessary energy consumption. That's why;
- System fans get louder 😤
- Battery life decreases (on laptops) 🔋
- Unnecessary heating occurs 🔥
- Performance drops due to throttling 🐌
Especially on Intel processor systems, the behavior of the intel_pstate driver, if not configured correctly, either keeps the processor at maximum speed constantly or responds very slowly.
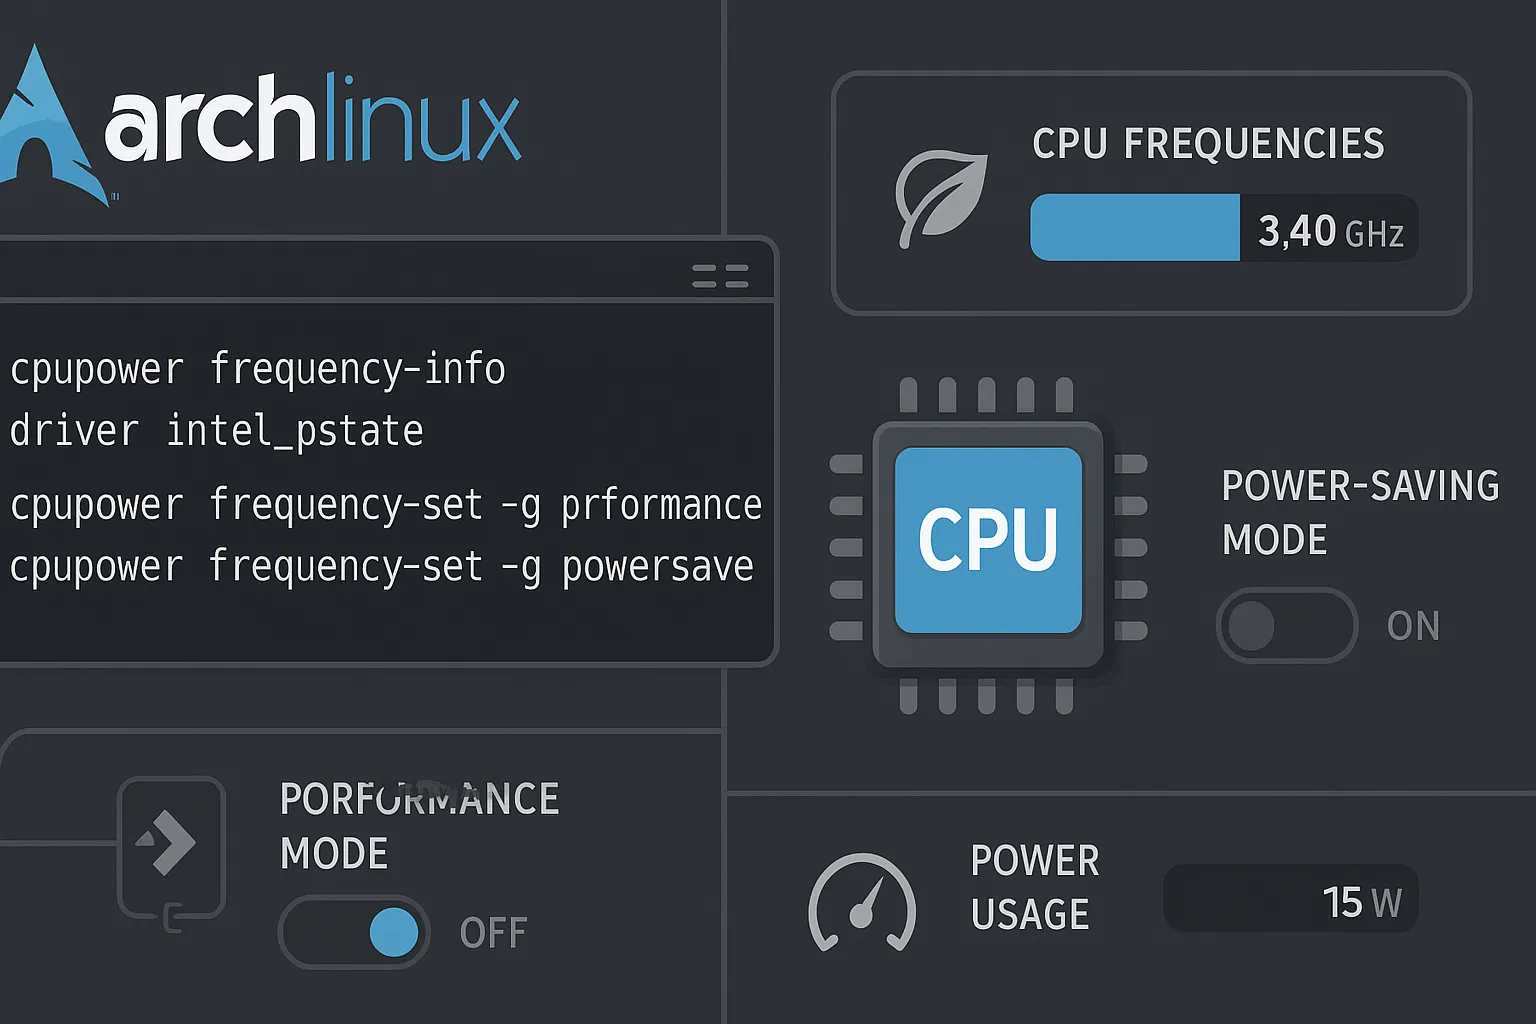
🧰 1. My System Hardware#
The components of the system where I performed the configuration are as follows:
- 💻 Intel i5-13400F (10 cores: 6P+4E)
- 🎮 Palit GeForce RTX 4060 Ti JetStream 16GB
- 🧠 16GB DDR5 6000MHz Team T-Force Vulcan RAM
- 🔌 Asus PRIME H610M-K DDR5 Motherboard
- ❄️ Thermalright Peerless Assassin 120 SE
- 🖥️ MSI G244PF E2 165Hz Monitor
With this hardware, I wanted to achieve high performance while preventing unnecessary power consumption.
🛑 2. Status of power-profiles-daemon Service#
In some Arch Linux installations (especially with GNOME or KDE), power-profiles-daemon is enabled by default. This service automatically manages the system's energy profiles.
To check its status:
systemctl status power-profiles-daemon.service
If this service is running and you're using a lightweight window manager (such as i3wm), it might be unnecessary. To disable it:
sudo systemctl disable --now power-profiles-daemon.service
⚙️ 3. Installing and Configuring cpupower#
Now we need to install the cpupower tool that will allow us to manually manage CPU frequencies.
Installation:#
sudo pacman -S cpupower
Configuration:#
sudo nano /etc/default/cpupower
Remove the # sign at the beginning of the following lines in the file and edit the values as follows:
governor='performance'
min_freq="800MHz"
max_freq="3.3GHz"
💡 Note: Frequency limits can vary depending on your system. You can check with the
cpupower frequency-infocommand.
Enable the service:#
sudo systemctl enable --now cpupower
sudo systemctl restart cpupower
📊 4. Frequency Information and Real-time Monitoring#
To verify that the configuration is working:
cpupower frequency-info
Sample output:
driver: intel_pstate
available cpufreq governors: performance powersave
current policy: frequency should be within 800 MHz and 3.30 GHz.
To see core speeds every 10 seconds:
watch -n 10 "grep 'cpu MHz' /proc/cpuinfo"
🧠 What is this for?
You see some cores running at low frequencies and some at high frequencies. This is due to the dynamic power management of the intel_pstate driver.
🔍 5. Understanding the intel_pstate Driver#
Modern Intel processors typically use intel_pstate as the default driver. With this driver;
- The processor can adjust its frequency instantly 🔄
- Even in "performance" mode, cores can drop when needed
- Boost frequencies are supported ⚡
Alternative Drivers?#
Some users may want to switch to the acpi-cpufreq driver to use managers like schedutil, ondemand, conservative. However, for 12th generation and newer processors, intel_pstate is the best choice.
🧱 6. Additional Tips for i3wm Users#
If you're using i3wm instead of a desktop environment, you need to configure startup processes manually. To run the cpupower command automatically at every boot:
Add to .xprofile File:#
echo 'cpupower frequency-set -g performance' >> ~/.xprofile
or
Create Systemd user service:#
~/.config/systemd/user/cpupower.service
[Unit]
Description=Set cpupower governor
After=graphical.target

[Service]
Type=oneshot
ExecStart=/usr/bin/cpupower frequency-set -g performance

[Install]
WantedBy=default.target
Enable:
systemctl --user enable --now cpupower.service
🚀 7. Advanced Fine Tuning and Analysis Tools#
7.1 Boost Frequency Status and Control#
To check if the boost feature is on or off:
cat /sys/devices/system/cpu/cpufreq/boost
1means boost is on0means boost is off
To turn it off if needed:
echo 0 | sudo tee /sys/devices/system/cpu/cpufreq/boost
⚠️ Boost should remain on for gaming or heavy workloads, otherwise performance may decrease.
7.2 Detailed Monitoring with turbostat#
Turbostat shows CPU core frequencies, temperatures, and power states in real time.
Installation:
sudo pacman -S linux-tools
Running:
sudo turbostat
7.3 Power Consumption Analysis: powertop and powerstat#
powertopidentifies the components consuming the most energy in the system and offers optimization suggestions.
sudo pacman -S powertop
sudo powertop
powerstatis used to measure instantaneous watt consumption, especially useful for laptop users.
7.4 Dynamic Power Management: auto-cpufreq#
Automatically sets the CPU governor based on load and battery status.
Installation (using AUR or yay):
yay -S auto-cpufreq
sudo auto-cpufreq --install
7.5 Forcing intel_pstate Driver with Grub Settings#
If the intel_pstate driver is not active on the system, you can enable it by following these steps:
sudo nano /etc/default/grub
Add the following parameter to the GRUB_CMDLINE_LINUX_DEFAULT line:
intel_pstate=active
After saving the changes:
sudo grub-mkconfig -o /boot/grub/grub.cfg
sudo reboot
7.6 Governor Mode Comparison#
| Governor | Description | Use Case |
|---|---|---|
| performance | Constant high frequency | Gaming, rendering, high performance |
| powersave | Constant low frequency | Battery saving |
| schedutil | Linked to kernel scheduler | Balanced, modern |
| ondemand | Frequency increase by load | Older systems |
With the
intel_pstatedriver, usually onlyperformanceandpowersavemodes are active.
7.7 Power Saving with TLP for Laptops#
For laptop users, tlp optimizes the power consumption of components such as WiFi, USB, and disk.
Installation and startup:
sudo pacman -S tlp
sudo systemctl enable --now tlp
🔗 8. For Those Who Want to Continue#
-
turbostat: Real-time monitoring of CPU core frequencies, temperatures, power status, etc. Useful for detecting performance issues or heating problems. -
powertop: Shows which components consume how much energy throughout the system and offers suggestions for power saving. -
auto-cpufreq: Automatically adjusts the CPU frequency manager according to load and battery status, providing energy efficiency.
If you want, we can also add a screenshot or sample command output from turbostat. Adding visual support to the article increases the user experience. If you have any other editing or addition requests, I'm happy to help!
📌 9. Common Issues and Solutions#
| Issue | Solution | |
| ------------------------------------------------------ | --------------------------------------------------------------- | ------------ | --- |
| cpupower: command not found | Install with sudo pacman -S cpupower | |
| Another driver is being used instead of intel_pstate | Check driver with dmesg | grep pstate | |
| Frequencies seem unchanged | Monitor in real-time with watch -n 1 "grep MHz /proc/cpuinfo" | |
| Battery drains quickly for laptop users | Change to governor='powersave' | |
✅ Conclusion#
In this guide, I showed step by step how to configure effective CPU power management without using a desktop environment, just with the terminal and cpupower tool. On a modern system:
- Managing performance manually 🎯
- Monitoring frequencies in real-time 🔬
- Properly using the
intel_pstatedriver 🛠️ such steps will make your system work more efficiently.
Comments