Series: ArchLampp
Part 3/4Installing VirtualBox 🚀#
First, let's install VirtualBox:
sudo pacman -S virtualbox
During installation, you'll see the following options:
- virtualbox-host-dkms
- virtualbox-host-modules-arch
If you don't know which option to choose:
- If you're using the Linux kernel, you should choose the 2nd option (virtualbox-host-modules-arch).
- If you're using a different kernel, you should choose the 1st option (virtualbox-host-dkms).
I'm continuing by selecting the 2nd option.
After installation is complete, before starting VirtualBox, let's enable the module:
sudo modprobe vboxdrv
Start VirtualBox once to check if there are any errors. If you get an error, you can get support by sharing the error message.
For the module to load automatically at every startup:
sudo nano /etc/modules-load.d/virtualbox.conf
Add vboxdrv to the file and save and exit (F3 -> Enter -> F2).
Finally, add your user to the vboxusers group:
sudo usermod -aG vboxusers YOUR_USERNAME
After restarting your computer, you can verify if the module is loaded with the following command:
sudo lsmod | grep vboxdrv
Installing Vagrant 🏗️#
To install Vagrant:
yay -S vagrant
If you want to install Vagrant plugins and plugin manager:
vagrant plugin install vagrant-vbguest vagrant-share
Now, let's download the ready-made image provided by Vagrant:
vagrant box add laravel/homestead
When you see the message indicating it was added successfully, the virtual machine image will be created.
Installing Homestead 🏡#
Let's create a folder called www in your home directory and pull the Homestead files into it:
mkdir ~/www
cd ~/www
git clone https://github.com/laravel/homestead.git Homestead
To start Homestead:
cd ~/www/Homestead
bash init.sh
When you see the message "Homestead initialized!", it means it has been installed successfully.
Now we need to edit the Homestead.yaml file:
sudo nano ~/www/Homestead/Homestead.yaml
ip: "192.168.10.10"
memory: 2048
cpus: 2
provider: virtualbox

authorize: ~/.ssh/id_rsa.pub

keys:
  - ~/.ssh/id_rsa

folders:
  - map: ~/www
    to: /home/vagrant/www

sites:
  - map: laravel6.test
    to: /home/vagrant/www/laravel6/public

databases:
  - homestead

features:
  - mariadb: false
  - ohmyzsh: false
  - webdriver: false
# ports:
#     - send: 50000
#       to: 5000
#     - send: 7777
#       to: 777
#       protocol: udp
At the beginning of the file you'll see the ip: \"192.168.10.10\" address. To run our Laravel project through this IP, let's add an entry to our hosts file:
sudo nano /etc/hosts
Add this line to the file:
192.168.10.10 laravel6.test
Save and exit (F3 -> Enter -> F2).
Then let's start the virtual machine:
cd ~/www/Homestead
vagrant up
The first startup might take a while. If you get an error, you can leave a comment.
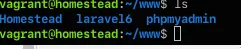
To connect:
vagrant ssh
Installing Laravel 🌐#
After connecting to the virtual machine via SSH, to install Laravel:
cd www
composer create-project --prefer-dist laravel/laravel
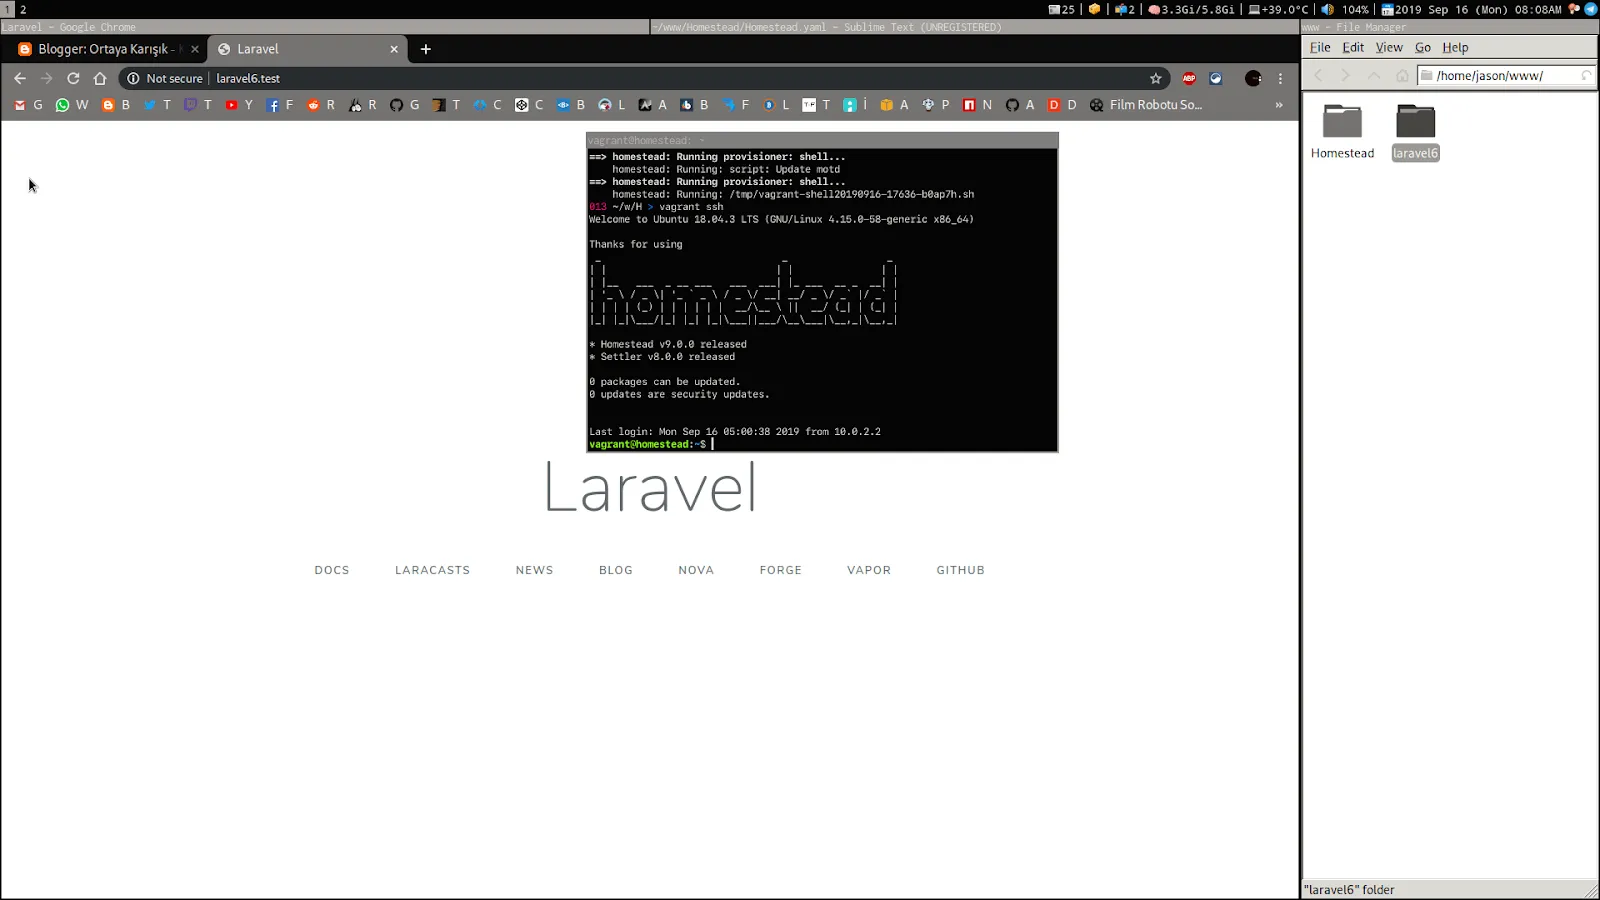
When this process is completed, a folder named laravel will be created inside your www folder.
Installing PhpMyAdmin 🛠️#
Make sure you're connected via SSH and check that you're working in the www directory:
curl -sS https://raw.githubusercontent.com/grrnikos/pma/master/pma.sh | sh
Let's add a new line to your hosts file to access PhpMyAdmin:
sudo nano /etc/hosts
Add this line:
192.168.10.10 phpmyadmin.test
Save and exit (F3 -> Enter -> F2).
Now let's edit our Homestead.yaml file and add a new site:
sites:
  - map: laravel6.test
    to: /home/vagrant/www/laravel6/public
  - map: phpmyadmin.test
    to: /home/vagrant/www/phpmyadmin
All settings are complete! 🚀 To access PhpMyAdmin:
Username: homestead Password: secret
Comments