Hello! I've prepared a guide explaining how to access resources such as shared files and printers from Windows through Linux. This topic was asked to me about 2-3 months ago, but I couldn't answer it yet due to workload. Now, I'll cover the topic from start to finish and collect all settings in a single article. Don't worry, everything will be explained step by step!
Samba Installation#
You can use the following command to install Samba:
sudo pacman -S samba
Editing Configuration File#
You can open Samba's configuration file for editing with the following command:
sudo nano /etc/samba/smb.conf
Create the file and paste the following settings inside:
[global]
usershare path = /mnt/virtual/
usershare max shares = 100
usershare allow guests = yes
usershare owner only = yes
workgroup = WORKGROUP
writable = yes
browsable = yes
security = user
map to guest = Bad User
guest account = nobody
guest ok = no

[Public]
path = /mnt/virtual/public
guest ok = yes
guest only = yes
Now let's create a virtual directory:
sudo mkdir /mnt/virtual
Press F3 to save the file, then press F2 to exit. I'll explain what each of these settings does in the detailed video explanation.
Adding User#
You can use the following command to create a new user who will have access to Samba:
sudo useradd paylas
Granting Permissions#
Use the following command to grant permissions and set a password for the newly created user:
sudo pdbedit -a -u paylas
Be sure to set a password, otherwise you may encounter some problems. If you forgot the password, you can change it with the following command:
sudo smbpasswd paylas
Finally, let's restart and activate the Samba service:
sudo systemctl restart smb.service nmb.service
sudo systemctl start smb.service nmb.service
sudo systemctl enable smb.service nmb.service
Things to Pay Attention To#
When sharing files on Windows, be sure to disable encrypted sharing from advanced sharing settings. Also, don't forget to add "everyone" and "guest" users during file sharing. You can choose not to add them if you want, it's your preference! 😄 You can use the following format to connect to the share: smb://192.168.1.150. This IP address is just an example, you can use the "ipconfig" command to learn your own Windows machine's IP address.
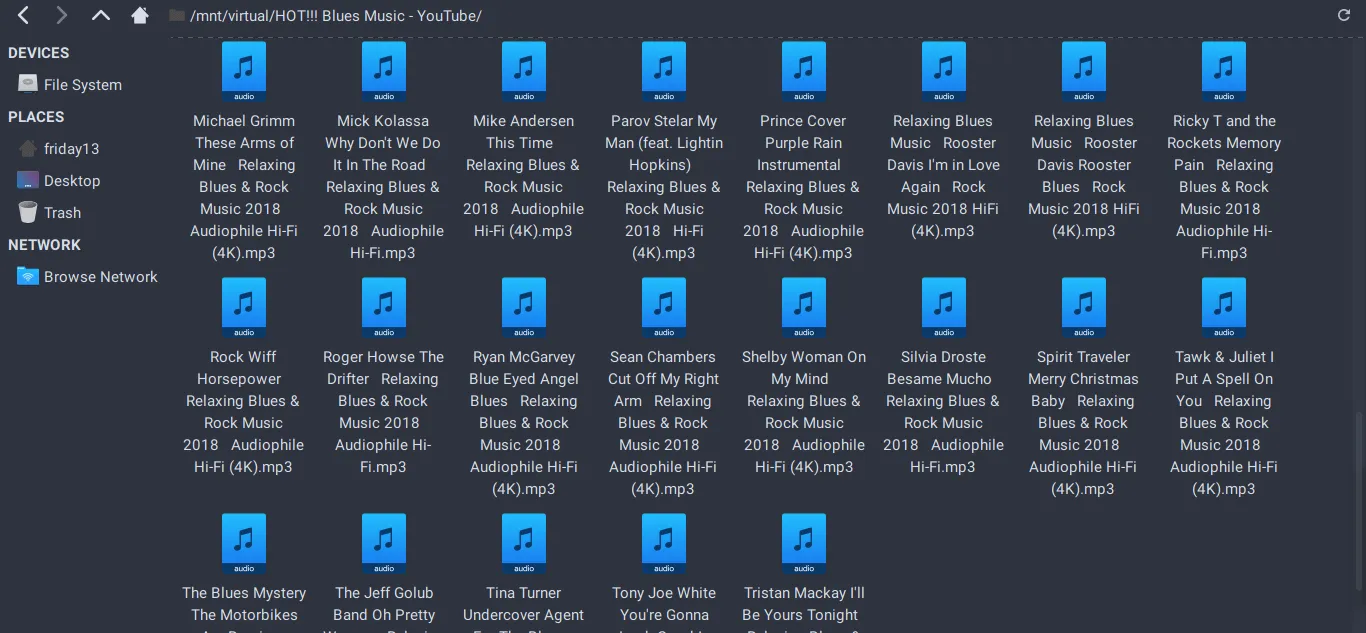
You can mount the share with the following command:
sudo mount -t cifs //ipaddress/sharedfolder /mnt/virtual -o username=createdusername,password=createdpassword,workgroup=workgroup,iocharset=utf8,uid=createdusername,gid=root
Optional Features#
The "Usershares" feature allows non-root users to add, modify and delete their own sharing settings. If you're using the Thunar file manager (in XFCE desktop environment), you can install the required package with the following command:
sudo pacman -S thunar-shares-plugin
Then follow these steps:
sudo mkdir -p /var/lib/samba/usershares
sudo groupadd -r sambashare
sudo chown root:sambashare /var/lib/samba/usershares
sudo chmod 1770 /var/lib/samba/usershares
Let's add the following line to the top of the Samba configuration file:
usershare path = /var/lib/samba/usershares
usershare max shares = 100
usershare allow guests = yes
usershare owner only = yes
Finally, let's add the user to the "sambashare" group:
sudo gpasswd sambashare -a paylas
sudo systemctl restart smb.service nmb.service
That's it! Now you can access Windows shares through Linux. Detailed video explanation is coming soon! 😊
Comments