Series: Git
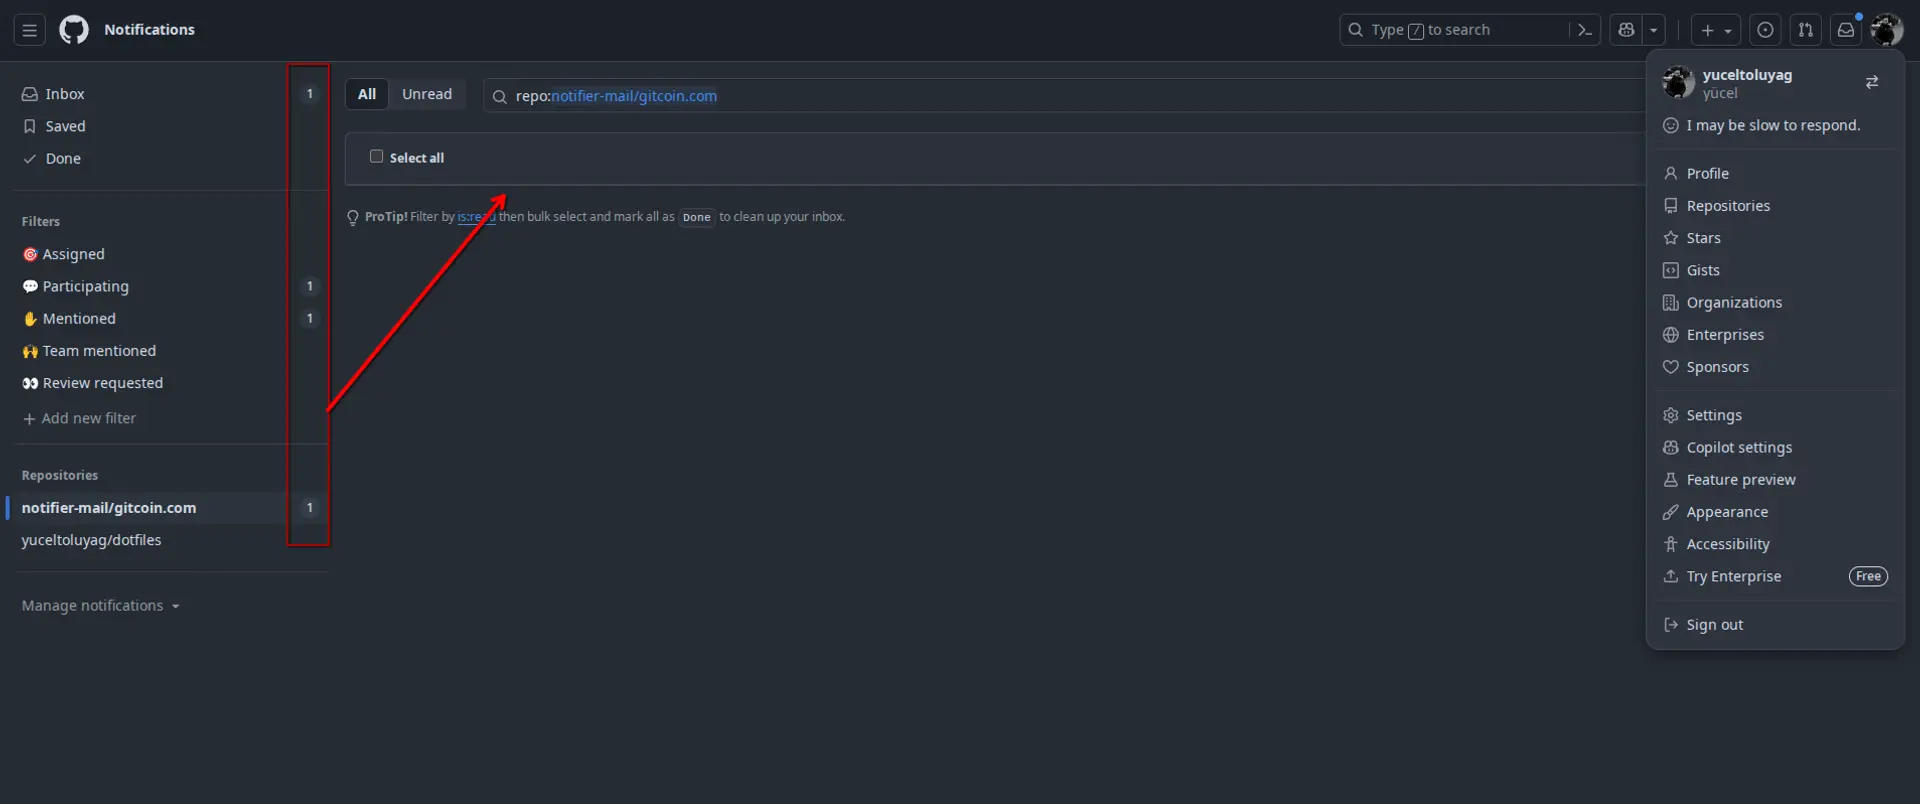
Part 10/10Another one of those mornings... You wake up, grab your coffee, thinking you're ready for the day. Then you see a bright red notification dot on GitHub. You click it. And yes, 30 new notifications. A quick glance tells you only one of them is perhaps important, the other 29 are "mentions" from irrelevant projects you no longer care about. A total headache. 🤯
Of course, you could go to the web interface and mark these notifications as "Done" one by one. But who has that much time? And finding the right notification in that interface can sometimes feel like looking for a needle in a haystack. In short, there must be a better way.
The interesting thing is, there is.
Not git, but gh! What's this all about?#
Now, let's not get confused here. Everyone's familiar git commands (push, pull, commit, etc.) are one thing. That's the core of version control itself. But then there's gh, GitHub's own command-line interface (CLI) tool.
This gh thing talks directly to GitHub's features. Opening Pull Requests, listing Issues... and yes, managing notifications. I remember thinking, "What's the point?" when I first heard about it, but it's a real lifesaver in some situations.
A Small Misconception As we just mentioned, some people mistake this 'gh' thing for a 'graphical interface.' But that's not the case at all. It's a tool that works entirely from the terminal. So you can continue your command-line heroics! ⌨️
If it's not installed on your system, you'll get an error like "command not found" when you try to run gh. Installation is simple. If you're on something like Arch Linux, you can do it with sudo pacman -S github-cli; if you're on macOS, brew install gh. For other systems, they've explained it clearly on their official website.
Remember! Before using the gh tool, you need to log into your account once in the terminal using gh auth login. Otherwise, don't come crying, Git doesn't know me!
Let's Clean Up That Spam: Step-by-Step gh Usage#
Anyway, enough chitchat, let's get down to business. Our goal is clear: to get rid of that unwanted, spammy notification. It's only two steps away.
Step 1: Let's Dump All Notifications Out#
The first thing we'll do is list all unread notifications. Our command for this is:
gh api notifications
You run this command... and you'll get a strange, jumbled, JSON-formatted block of text. Don't be scared. Don't let it intimidate you. The only thing we need from there is the ID number of the notification we want to get rid of, its id.
The output will look something like this:
[
  {
    "id": "19105015689",
    "repository": {
      "full_name": "notifier-mail/gitcoin.com"
    },
    "subject": {
      "title": "The title of the notification would be here somewhere",
      "url": "..."
    },
    "reason": "mention",
    "unread": true,
    "url": "https://api.github.com/notifications/threads/19105015689"
  }
]
Generally, the long number at the very end of the url field is the id we're looking for. I think... I've always found it there, at least. Just make sure you find the correct notification from the title. Copy that ID somewhere. You'll need it in the next step.
Step 2: Read and Get Rid of It! The DELETE Command#
Got the ID? Alright. Now it's time to mark that notification as "read" and make it disappear.
Caution! ☢️ Make sure you copied the correct ID. If you accidentally delete an important notification, you won't know about it, and it'll get lost in the shuffle. Check twice, even thrice! I warned you.
Our command is as follows:
gh api -X DELETE notifications/threads/ID_GOES_HERE
You'll replace ID_GOES_HERE with that long number you just copied. For example, for the ID in our example, the command would be:
gh api -X DELETE notifications/threads/19105015689
When you run this command, it will appear as if nothing happened. It usually doesn't give any output. But in the background, that notification has now been marked as "read." When you go to GitHub, you'll see that the red dot is gone. Or at least the number has decreased. A big victory! 😎
The API world is also a bit strange. Using the DELETE verb (Delete) to "mark as read"... That sounds too formal, let me rephrase: They probably thought, instead of creating a separate command for "mark as read," they'd just say "let it be deleted from the list" using DELETE. Anyway, does it work? Yes, it works. The rest is details.
Result? For Now, At Least...#
So there you have it. We got rid of that annoying notification with a single command. Is it a great victory? No. But these are the small victories we win during the day. This, in my opinion, saved me at least 5-10 seconds, maybe more! What do you do in those seconds? You yawn in front of the computer, sip your coffee... Anyway.
Of course, this doesn't mean that project won't send you notifications again. This cycle, unfortunately, never ends. But at least now we have a weapon to quickly resolve that momentary annoyance from the terminal. It just occurred to me, a small bash script could actually be written to do this in bulk... Anyway, that's a topic for another day.
For More If you're curious about the other blessings of the GitHub API, GitHub's REST API documentation is a vast ocean. But be careful, you might get lost in it.
Comments